Virtual Machine For Mac On Windows
Setup requires a more-than-entry-level PC, since you'll be running two resource-hungry OSes at once. But a virtual machine is well worth the effort, because it means fewer headaches than fully upgrading to beta software or running a second version of Windows on a drive partition. Also, if a VM gets a virus or starts acting weird, you can just delete it and reinstall, assuming it doesn't contain any important data. There are a number of virtual machine apps you can choose from, but for simplicity's sake, this tutorial sticks to. These instructions are for Windows 7 and 8.1, but you can apply this process to other Windows versions. What you need: 1. A CPU prepped for running a virtual machine.
Best install for kodi. A broadband Internet connection to download up to 4GB of files. 50GB or more of free space on your PC. Up to one hour of free time. Step 1: Verify virtual machine support Oddly, your CPU's virtualization features are often disabled by default. Fixing that can be a hassle, but the process of getting Windows 10 up and running in a virtual machine gets easier after this step. To make sure that virtualization is enabled in your hardware, you need to go into the motherboard BIOS interface. To do that, hit the F2 or Delete key while your PC is booting up.
The timing can be tricky if you have a solid-state drive, because your window of opportunity is only a few seconds. If F2 and Delete don't work, you may need to try F10 or F12 -- your motherboard manual will tell you. If you don't have your manual, you can usually download it from the manufacturer's website.
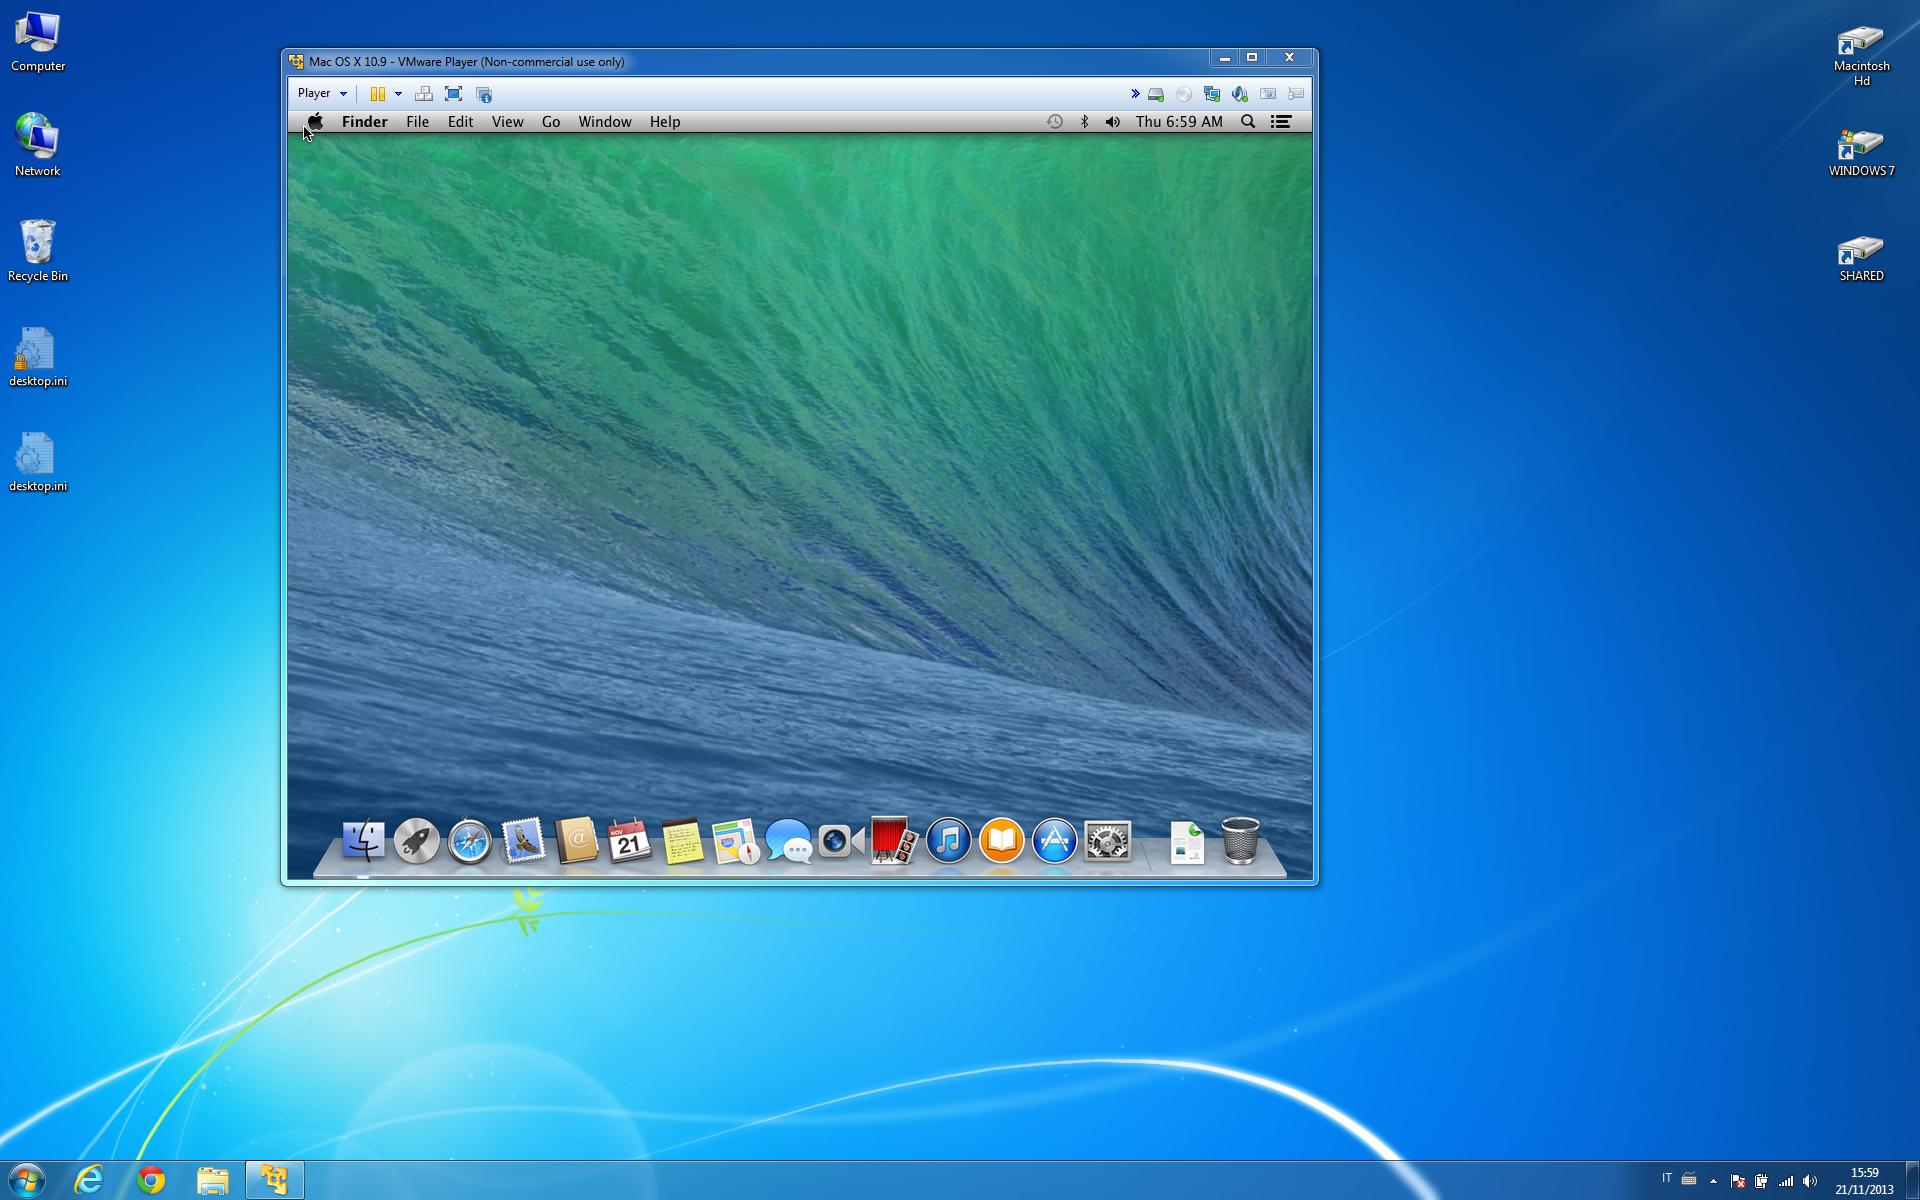
Aug 28, 2012 - Even if you're a Windows fan, you've probably thought about trying OS X. Give your new virtual machine a name (I just called it “Mac OS X”).
If you don't know who made your motherboard or which model it is, download and click the Motherboard tab. If you have a laptop, the model is usually printed on the device itself. Then you can Google the motherboard name to find the manual, which will also show you where in the BIOS you will find the setting to toggle your CPU's virtualization settings. Once you've enabled virtualization in the BIOS, press F10 (unless the manual tells you to use a different key) to save your settings and reboot.
You may have a basic BIOS with no CPU virtualization setting. In that case, just hit the Escape key to leave the BIOS and boot into Windows. Step 2: Download Windows 10 Insider Preview There are two ways to get Windows 10: (1) install it as an upgrade to your current OS (Windows Vista, 7, or 8.1) or (2) download an ISO file. An ISO is a package of files that's usually installed from an optical disc, but a virtual machine basically tricks your computer into thinking that the files are on a CD or DVD. The virtual machine will install the ISO's contents much faster than an optical drive can.
Go to Microsoft's site to get the. Sign up as a Windows Insider, if you haven't already, and choose your file language. If the Windows Insider ISO is not available, you can grab.
This version won't give you the exact same set of features -- for example, the Windows Store is not present -- but it's the only legit method of getting a free test copy of Windows when the Insider program is not providing them. Next, select either the 32-bit (x86) or 64-bit (x64) version. If you're not sure which one is compatible with your PC, hold down the Windows key and press the Pause/Break key to bring up the System window. Look for the System type entry, which will tell you if you have 64-bit or 32-bit Windows: 64-bit Windows can use either ISO, but 32-bit Windows can use only the 32-bit ISO. If you plan to test 64-bit software or to dedicate more than 4GB of system RAM to your virtual machine, you'll need 64-bit Windows running on your PC. Some older CPUs cannot support a 64-bit virtual machine, even if the CPU is technically 64 bits.