How To Format Hard Drive Os X For Time Machine
Upgrading the original drive in your Mac is a great way to improve performance and/or increase the storage capacity of your machine. When transferring your data from one drive to another, we highly recommend you install a fresh copy of the OS, and then use Apple's Migration Assistant to migrate your data to the new drive. While drive cloning is also an option, performing a fresh OS install and migrating your data can provide a much better starting point to ensure that everything will work correctly, and should you have any issues with your new drive, it can eliminate additional variables to troubleshoot.
Performing a fresh install will also ensure your new drive is setup with the Recovery Partition that Apple creates during the OS install process. To transfer your data, you'll need to have both your original drive and your new drive connected at the same time. For single-drive computers (e.g.
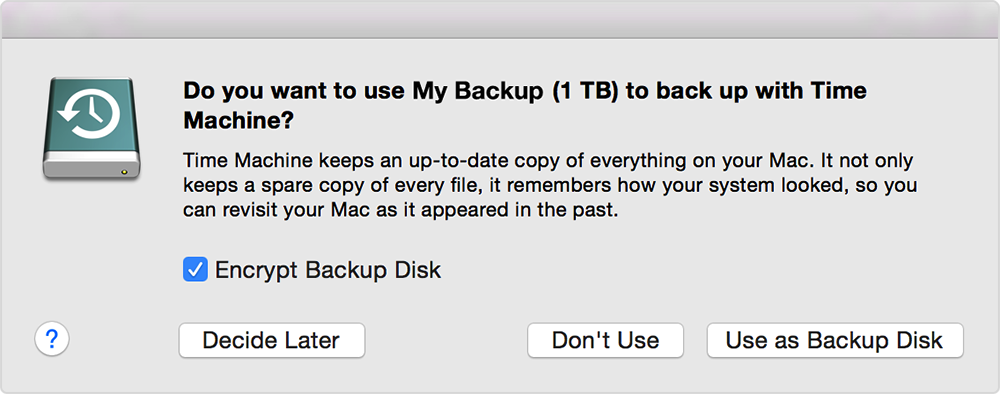
Macintosh OS X's Time Machine is an automated backup program and is worth consideration. However, if you're using a laptop and are constantly on the go, plugging in an external backup drive to launch the backup process somewhat interferes with the whole 'set it and forget it' approach.
Most laptops), you'll need a device to connect the old drive to your computer after your new hard drive is installed. If you plan to use your old drive for external storage when the migration process is complete, you can install that drive into an enclosure. We offer many DIY kits with the external enclosure included. Depending on the size and connector type on your drive, you can use one of the following solutions to connect the drive: an, the, or the.
In some instances, though (most notably with MacBook Airs and Retina MacBook Pros), you'll need a special enclosure for Apple's SSD. For those extremely rare cases where you can't connect your old drive externally, the following steps will be slightly different. See the Special Note at the end of the article for more details. If the Mac can hold both the new drive and the original drive (for example, a 2006-2012 Mac Pro, or a laptop or Mac mini with a Data Doubler) no enclosure should be necessary. Please contact our if you are still unsure of which solution is best. For Mac operating systems 10.6 or earlier, you will need the installer disc for the OS.
For 10.7 and later, you can use the recovery partition on the original drive. To make sure you have a functional recovery partition, restart your computer and immediately hold down the 'Command'; and 'R' keys until the Apple logo appears. If your computer boots into a four-option menu then you have a functional recovery partition that can install the OS.
If your computer boots normally to your desktop then you do not have a recovery partition. For 10.7 users that do not have a functional recovery partition and have a computer (or which is newer than the computers on said list), then you can use the Internet Recovery feature built into your Mac. To make sure you have access to Internet Recovery, restart your computer and immediately hold down the 'Command', 'Option', and 'R' keys until you see a spinning globe or Apple logo. Format ssd drive windows 10. If your computer does not have an internet connection it will prompt you to connect to a wifi network. If your computer boots into a four-option menu then you have the ability to use Internet Recovery. If all else fails then you can.

Use Disk Utility to format the new drive. This will be Option 4 in the menu option that is presented when you boot up into recovery.
Once Disk Utility is open, select the View button on the upper left of the window and select Show all Devices. If your drive does not show in the sidebar, quit Disk Utility and then reselect it from the menu.
Once you have the disk selected, click on the 'Erase' tab on the right. Set the Volume Format to 'Mac OS Extended (Journaled)'; for SSDs being installed as internal boot drives, select 'APFS' (Apple File System). NOTE: Rotational drives and Fusion drives can only be formatted as Mac OS Extended (Journaled). The name can be anything you want, but should be a different name from the startup drive being replaced. Once those options are set, click the 'Erase' button. Once you've formatted the drive, you can close Disk Utility. If you're in 10.7 or later, you'll need to select the 'Reinstall Mac OS X' option from the Utilities screen.
In earlier OS versions, quitting Disk Utility will take you back to the installer. Follow the steps as they are presented, making sure to select the new drive (the one you just formatted in the previous step) as the install location. The OS installers are simple to use; all you need to do is follow the on-screen prompts.