Netgear Ac1750 Vpn For Mac
NETGEAR Insight Pro Network Management System enables higher profitability for Resellers. The NEW Nighthawk Pro Gaming Router & Nighthawk Pro Gaming Switch - Power To Win! 1 password not saving new logins on chrome for mac download. Top Contributors. C6300 - AC1750 VPN setup. Hi I wish to set up all devices in my house to go through a VPN, I've had this feature on previous routers but I can't seem to.
A virtual private network (VPN) lets you use the Internet to securely access your network when you aren’t home. You must install the Open VPN software on each Windows computer that you plan to use for VPN connections to your router. VPN uses a Dynamic DNS account to connect with your router. You must enable Dynamic DNS before enabling the VPN feature.
To set up VPN: • Launch an Internet browser from a computer or mobile device that is connected to your router’s network. A login window opens. • Enter the router user name and password. The user name is admin. The default password is password. The user name and password are case-sensitive. The BASIC Home screen displays.
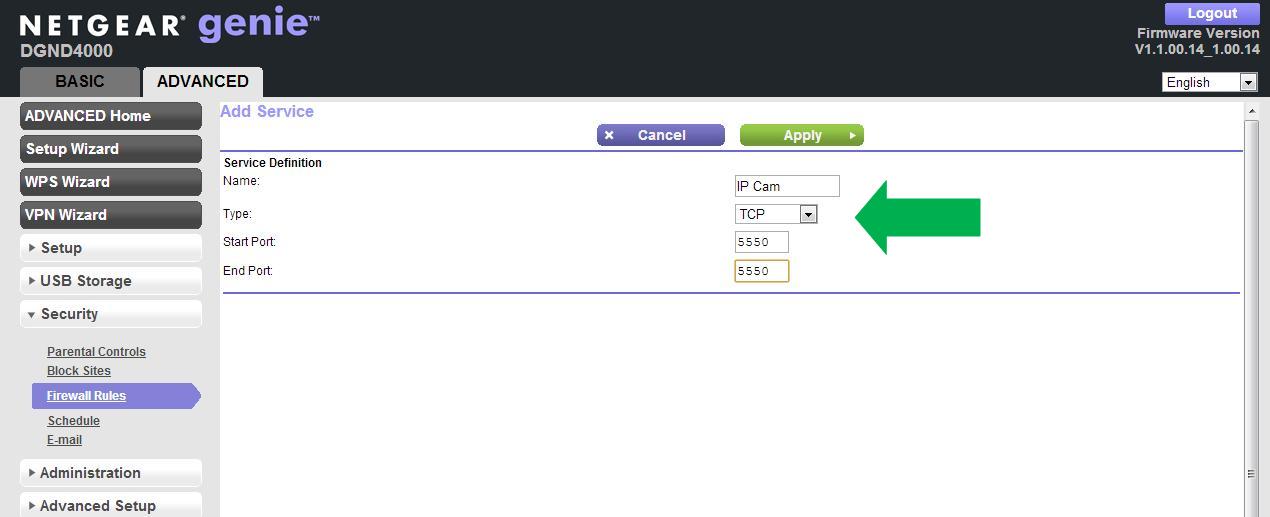
• Select ADVANCED > Advanced Setup > VPN Service. The VPN Service page displays.
Look for items sold by Walmart.com and marked with FREE shipping. My passport drive for mac. • Addresses in the following State Codes AK, HI, AE, AP, AA, PR, GU, MP, PW, AS, VI, FM and APO/FPO addresses with U.S. You will also see this noted in checkout. ZIP Codes will ship for free with value shipping.
• Select the Enable VPN Service check box and click the Apply button. • Specify any VPN service settings on the page.
• Click the For Windows button to download the OpenVPN configuration files. • Visit to download the OpenVPN client utility. • In the Windows Installer section of the page, double-click the openVPN-install-xxx.exe link. • Download and install the Open VPN software on your computer, click the openVPN-install-xxx.exe file. • Click the Next button. • Read the License Agreement and click the I Agree button.
• Leave the check boxes selected, and click the Next button. • To specify the destination folder, click the Browse button and select the destination folder. • Click the Install button. The window displays the progress of the installation and then displays the final installation page. • Click the Finish button.
• Unzip the configuration files that you downloaded and copy them to a folder where the VPN client is installed on your device. For a client device with Windows 64-bit system, the VPN client is installed at C: Programfiles OpenVPN config by default. • For client devices with Windows, modify the VPN interface name to NETGEAR-VPN: • On your computer, go to the Networks page. If you are using Windows 10, select Control Panel > Network and Sharing Center > Change adapter settings. • In the local area connection list, find the local area connection with the device name TAP-Windows Adapter.
• Select the local area connection and change its name (not its device name) to NETGEAR-VPN. If you don't change the VPN interface name, the VPN tunnel connection fails. GearHead Support for Home Users GearHead Support is a technical support service for NETGEAR devices and all other connected devices in your home. Advanced remote support tools are used to fix issues on any of your devices. The service includes support for the following: • Desktop and Notebook PCs, Wired and Wireless Routers, Modems, Printers, Scanners, Fax Machines, USB devices and Sound Cards • Windows Operating Systems (2000, XP or Vista), MS Word, Excel, PowerPoint, Outlook and Adobe Acrobat • Anti-virus and Anti-Spyware: McAfee, Norton, AVG, eTrust and BitDefender.